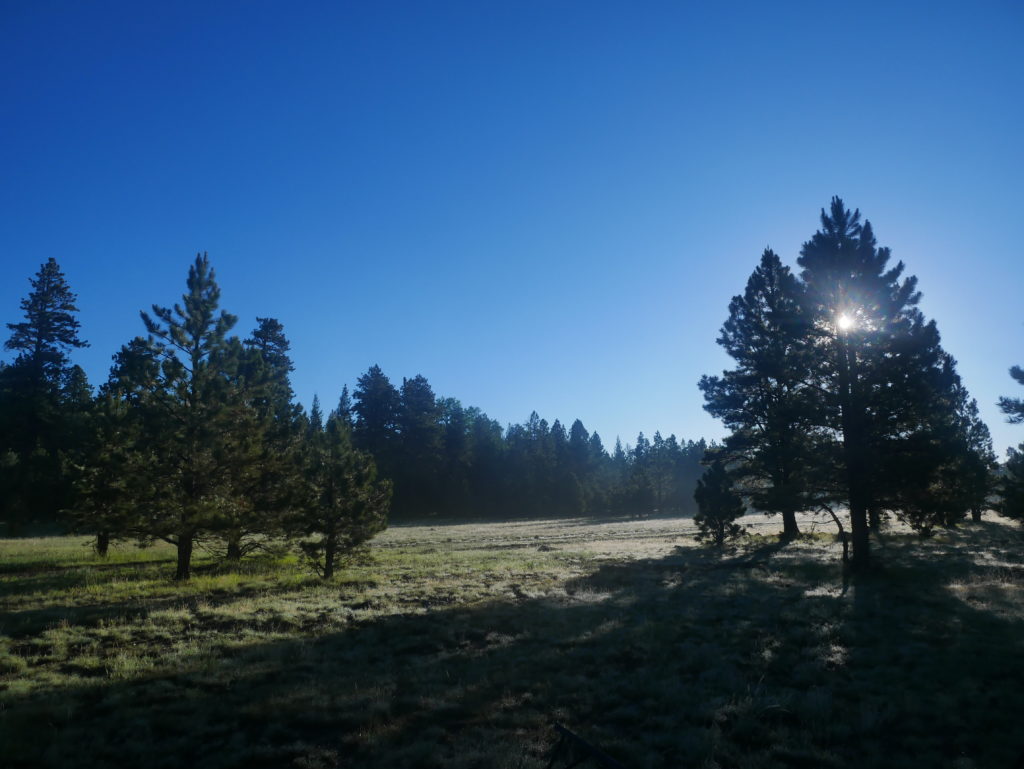
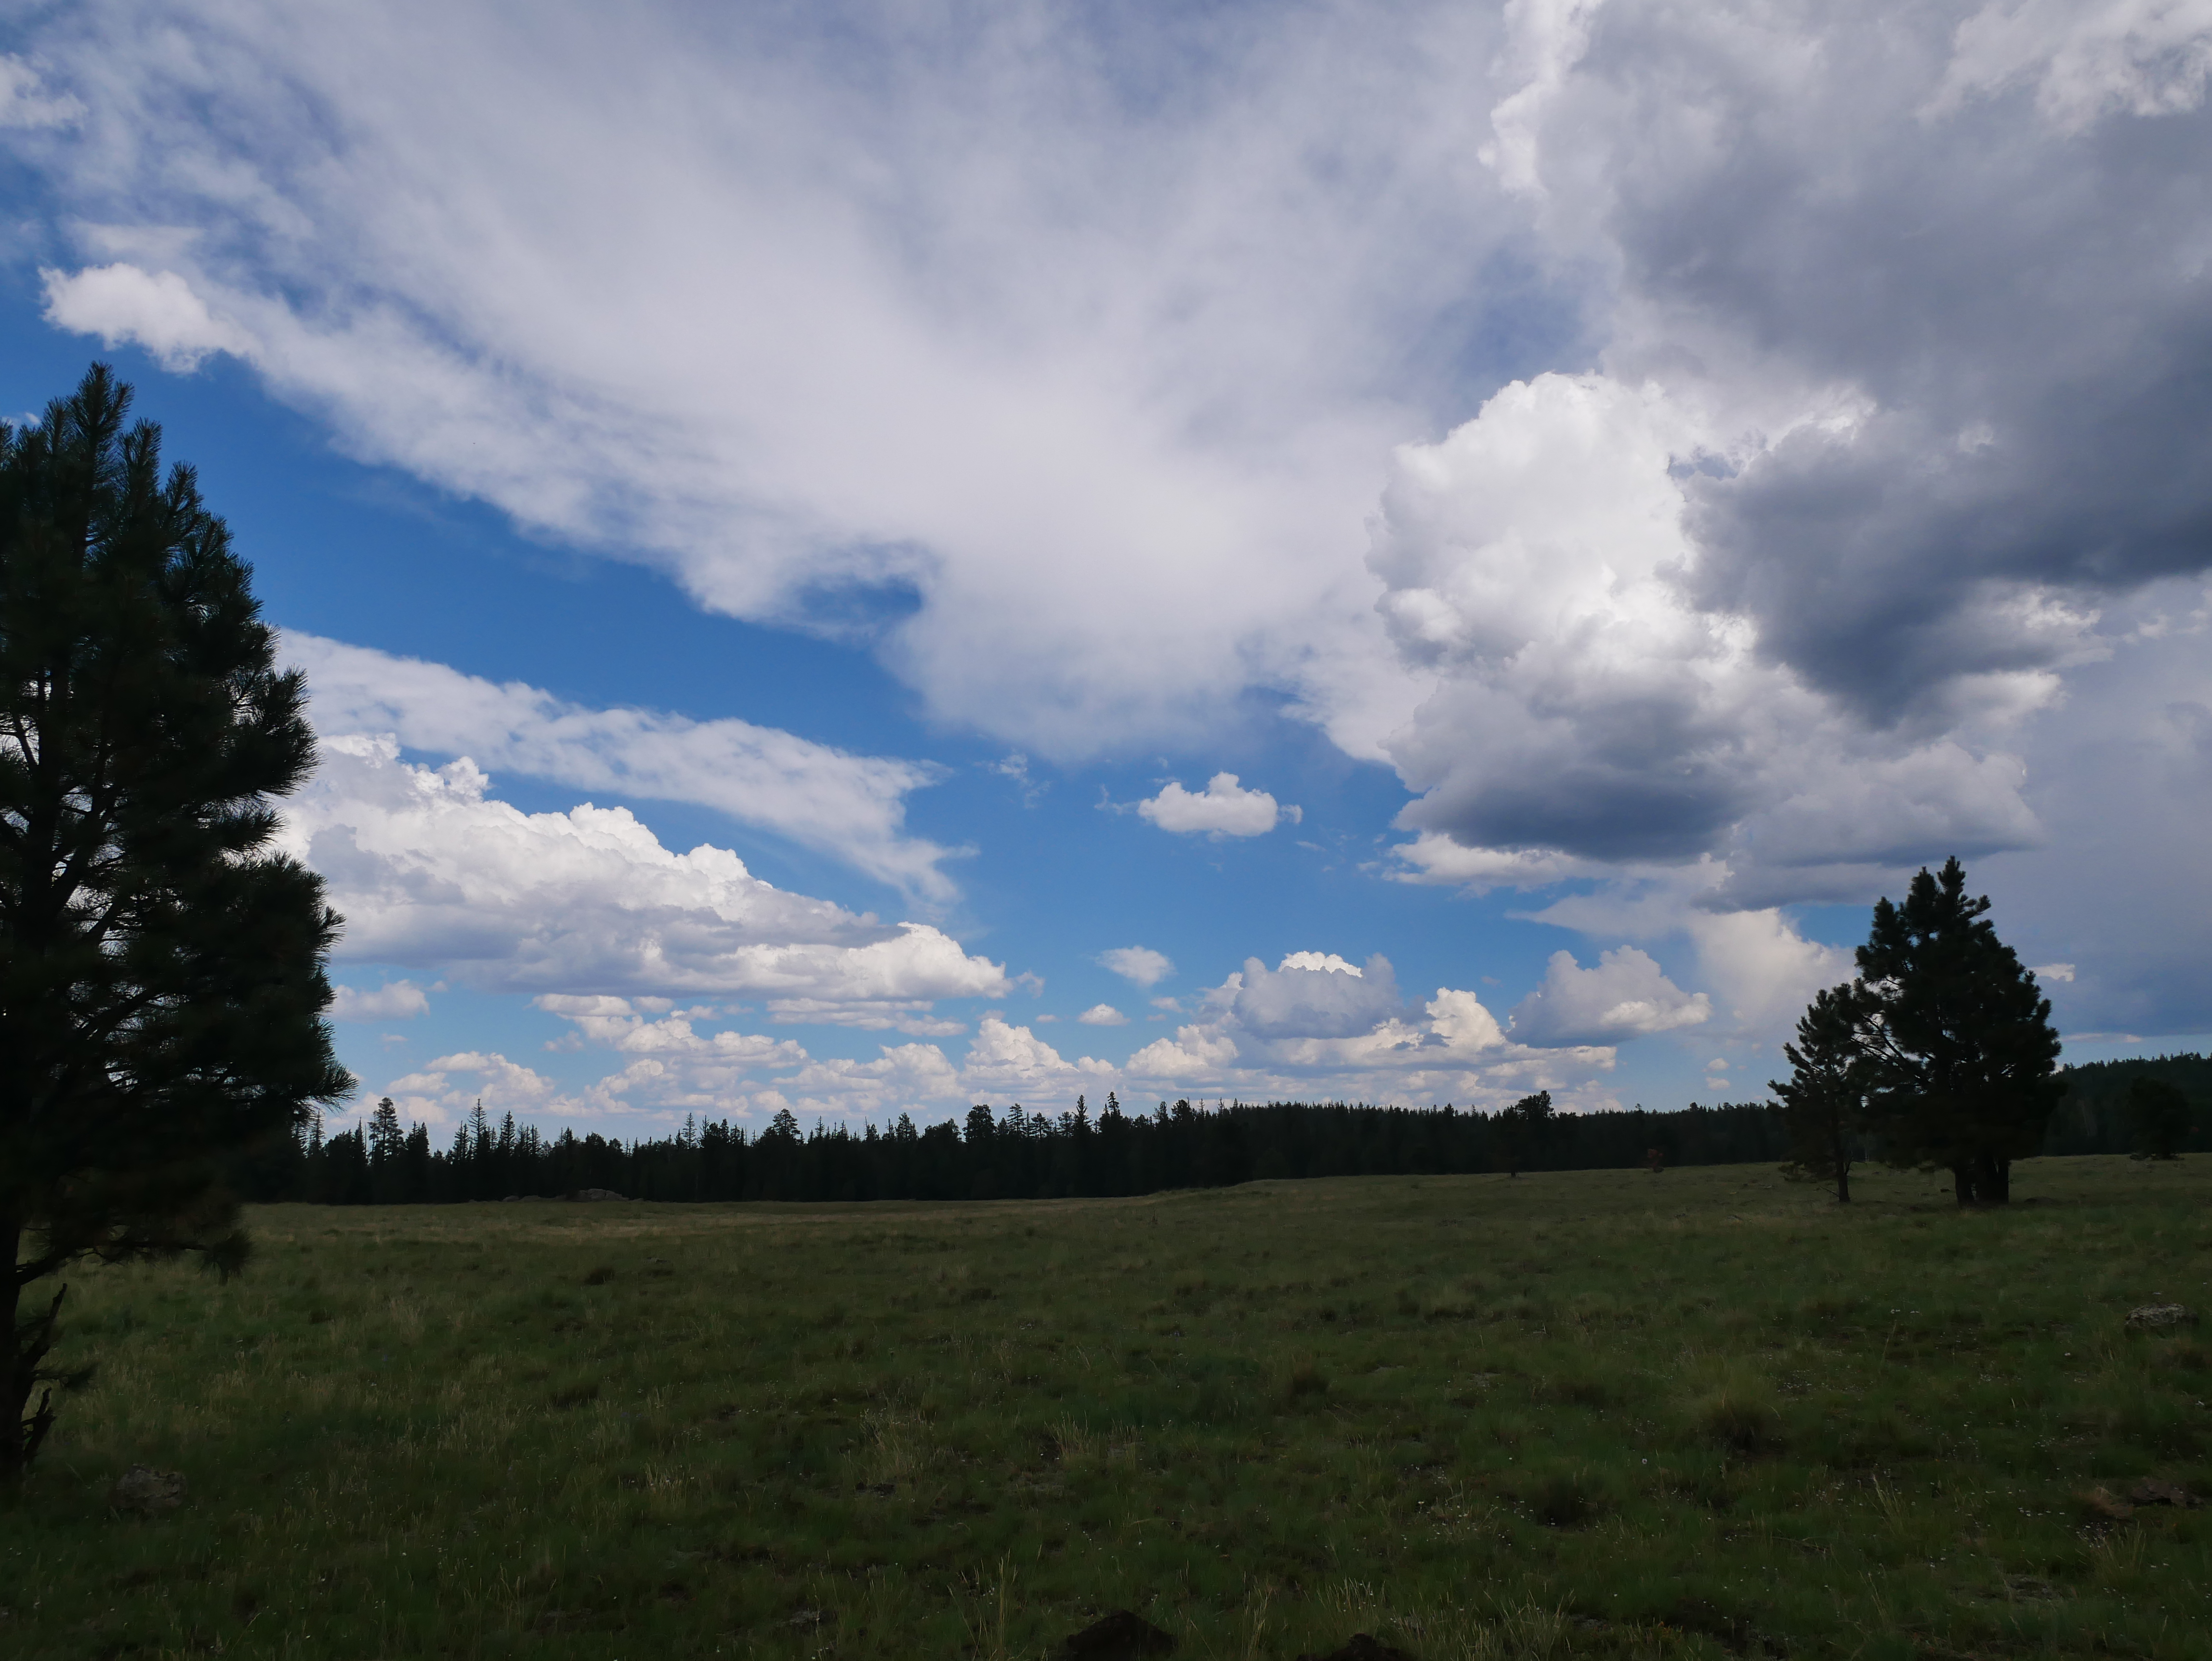
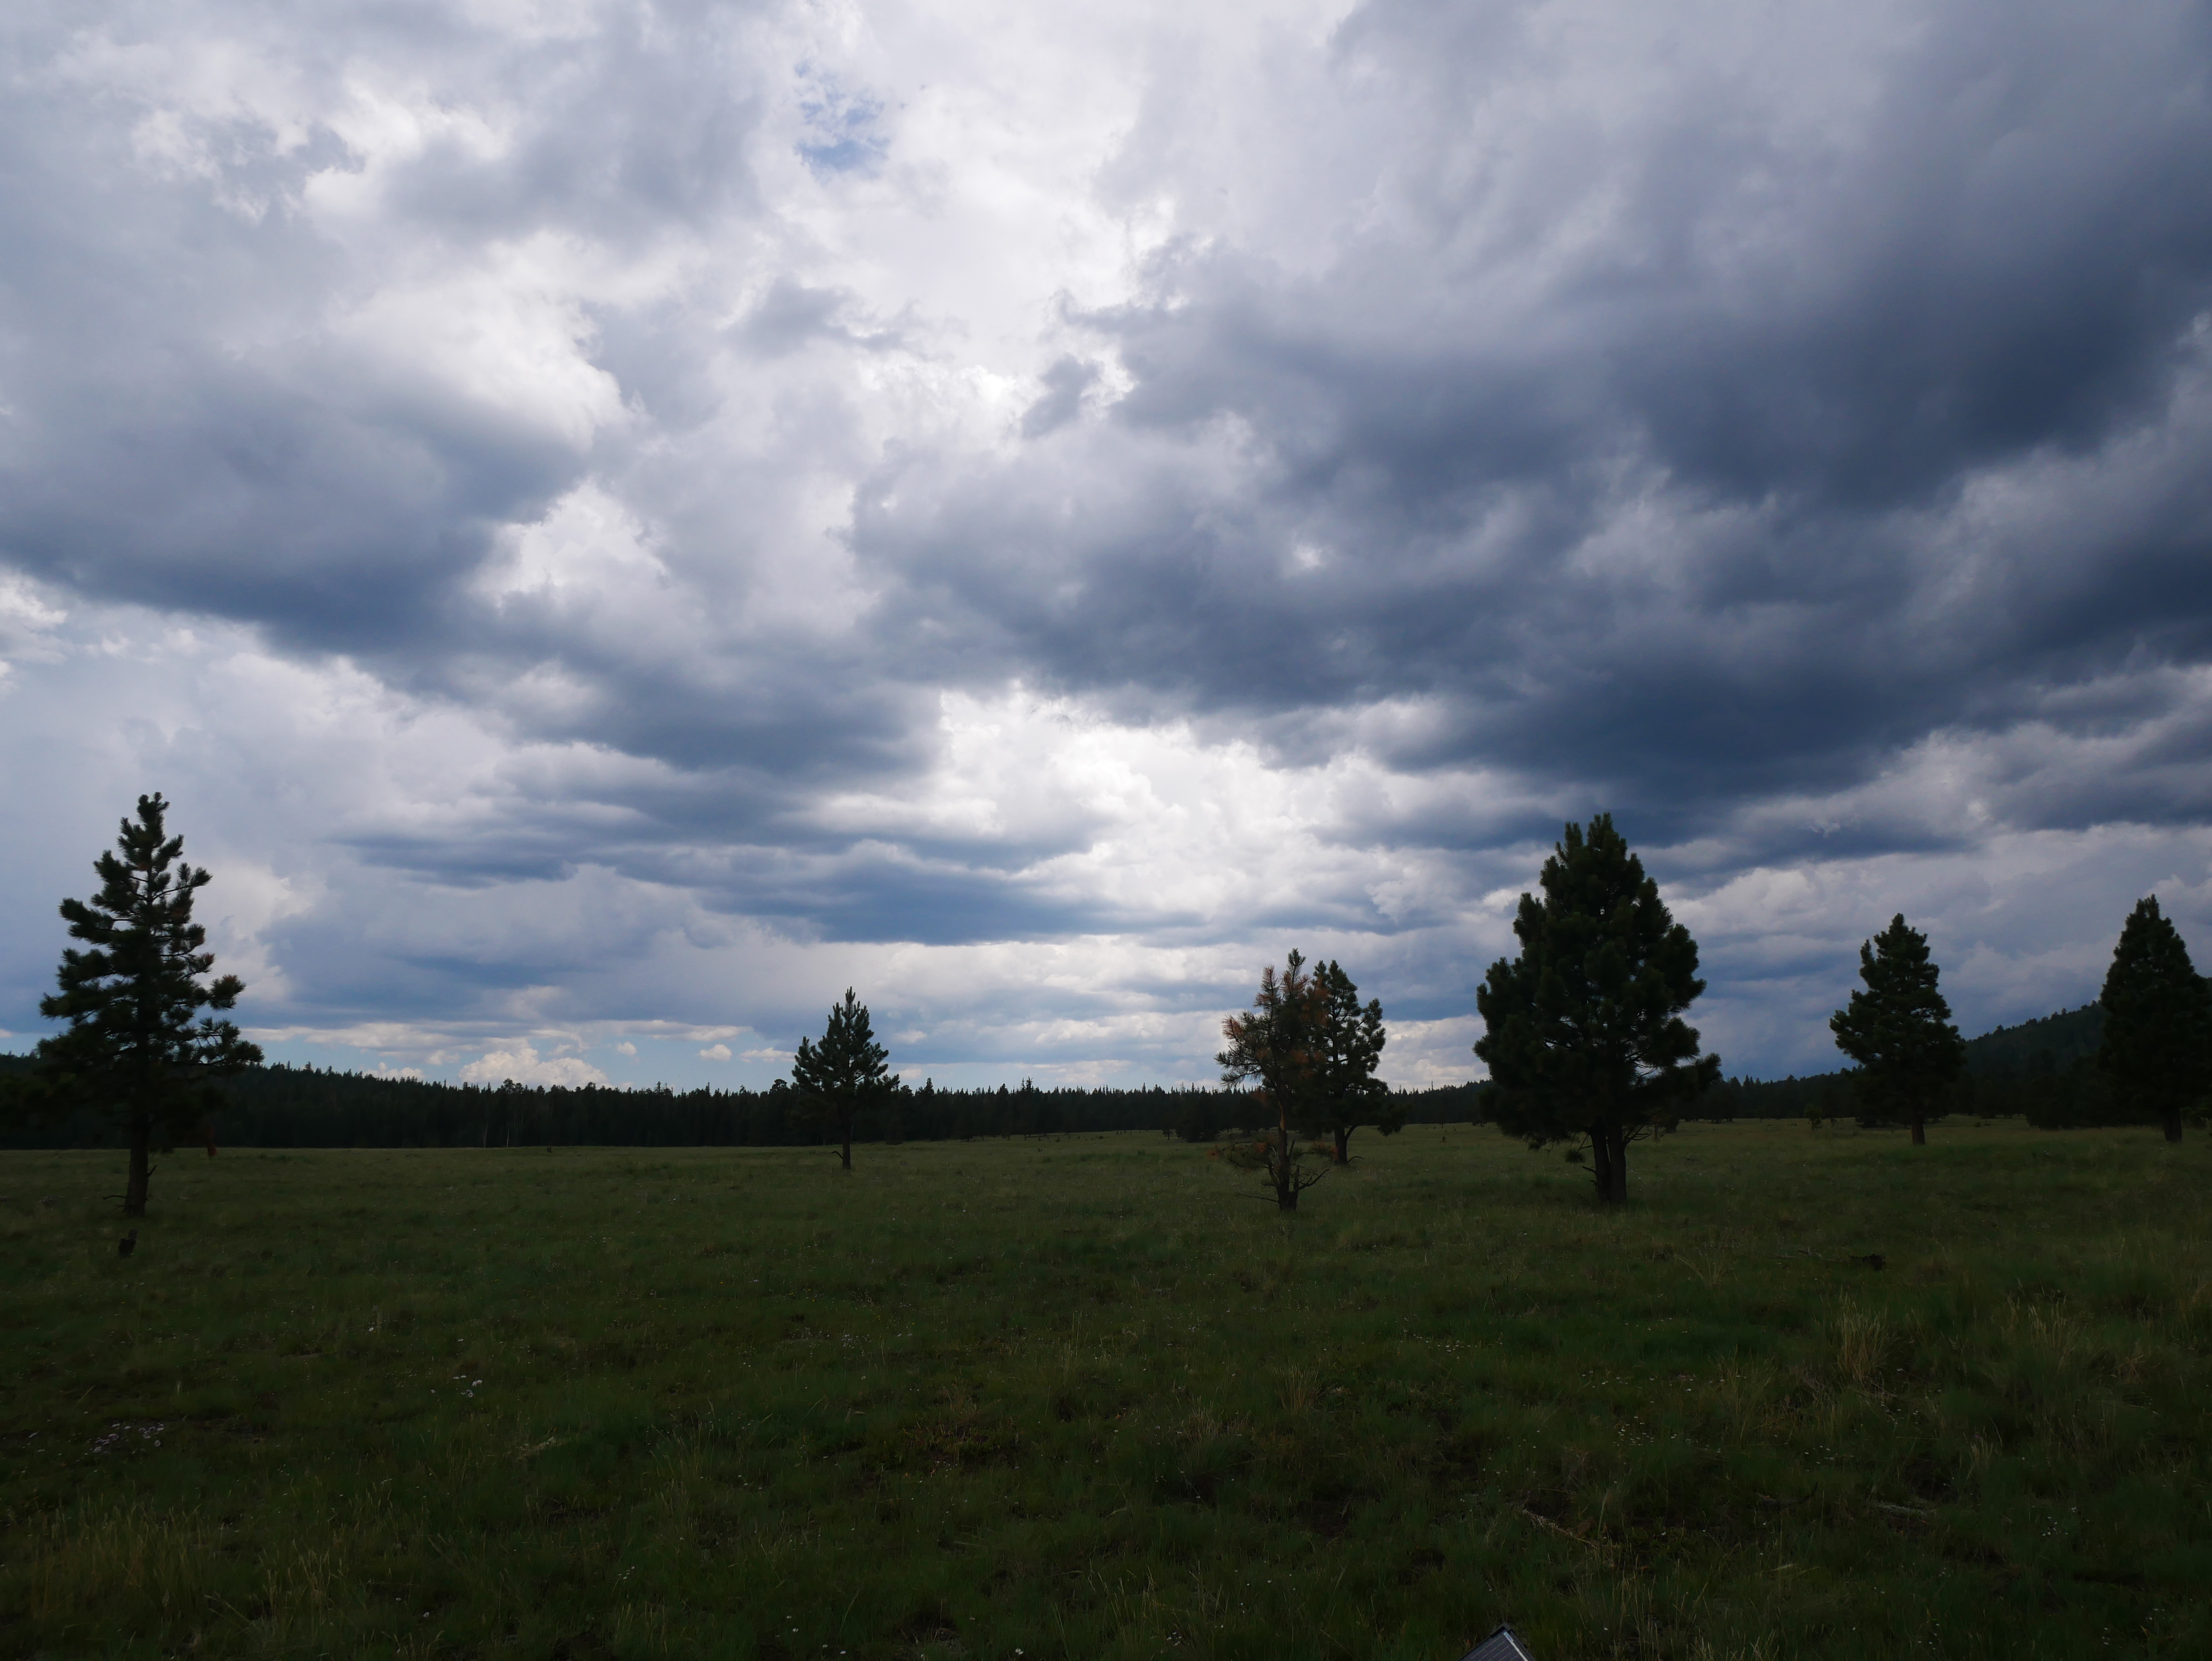
Pictures from today
My Trekpod tripod staff came with rubber feet on the tips, well that’s nice for hardwood floors or carpet but not so great for wilderness or rough concrete. So I took 3 stainless bolts and ground the heads off of them.

I’ve been grilling for 20 years or so, but the other day my landlady came by while I was grilling and was amazed that I could get a fire hot enough to grill on in the middle of the Seattle winter, in the rain no less.
I suddenly realized that I had a completely different view on grilling than most people do. And that my methods and tools are probably totally unique.
So, I’m going to post them here in the hope it helps someone else improve their grilling.
#1 The Fire must be HOT.
I’m not talking “normal grill hot” I mean HOT as in “OMG THAT’S HOT!” kind of hot. The hotter the better, I would grill on a steel forge if I could. If you’re worried that your grill is going to melt it’s just about right. (I have literally melted a grill thermometer because my fire was hotter than the probe could take) The meat should be barely above the coals as well, unfortunately this is difficult to accomplish on most grills. This is why I use a Smokey Joe grill.
It works fine for me and my girlfriend, a larger family should go with a larger Weber grill, but get a different size grill surface so that the meat is closer to the coals, The hotter the fire the better the resulting piece of meat will be.
If you’re thinking “That’s going to turn my food into charcoal!” you’re right, but only if you cook by time, not by temperature. Which is why you need a good grilling thermometer. If you’re cooking the center of your steak over 120f or so you are overcooking it. A good steak should only be on the grill for a max of 2 minutes per side, if you’re leaving a steak on a grill for 5+ minutes your fire needs to be hotter.
If you don’t believe me try cooking over the coals from a big campfire sometime, you’ll never go back.
#2 Use REAL charcoal.
You’re probably thinking “huh? Kingston is charcoal!”, no, I mean real true charcoal that actually looks like pieces of wood. You can probably find it at your local grocery store but it is going to be more expensive, your best bet is to try a restaurant supply store and buy it in 50lb bags. I use about 2/3 real charcoal under 1/3 briquets, this keeps the fire hotter longer. It also provides better flavor. On top of that real charcoal does not burn down as easily as briquets do. (I have had real pieces of charcoal that started out the size of a baseball go through my grill 3-4 times.)
#3 You need more charcoal than you think you do.
On my little Smokey Joe I fill a Weber charcoal chimney all the way up and light it, then pour the whole thing into the grill, likely it’s far more than the makers of the grill ever expected, but you want to cook over heat, not half-cold charcoal. The larger the amount the more heat it holds. This isn’t wasted however since after you are done you close the vents on the grill and 2/3 of the charcoal cools off and is ready to re-use next time.
If I had to use a larger grill I would probably use 2 chimneys, chances are you would end up with more than one chimney worth of leftover coals once you’re done.
#4 Let the meat warm up to room temperature first.
Let the fat warm up, it will cook better. It won’t kill you to let the meat sit on the counter for 4 hours, when you cook to temperature there will be nothing left to make you sick in chicken or poultry.
#5 You are probably overcooking your meat.
What temperature is suggested for different foods? I go by this list:
Beef Steak or Roast can be safely eaten raw, but I suggest 120f. (This also includes meat you ground yourself at home)
Poultry 165f (This also includes home-ground poultry)
Pork (Not ground) 150f
Ground Beef 155f (Due to not knowing what parts are included in store-ground meat)
Ground Pork 160f
Ground Turkey or Chicken 170f
The USDA has recently reduced it’s recommended temperatures for most of those foods, but most grilling thermometers suggest temperatures 10-20f higher than those temperatures for legal reasons. Get a good thermometer that you can set your desired temp on and use it.
#6 Get a bellows.
A what? Oh, a crazy thing you squeeze to blow on a fire? Well, yes, but there are newer versions. I use a battery-powered pump for a rubber raft that I picked up for 10$. I blow it on the coals between the batches of meat on my little grill to bring the fire back to life. You won’t regret it. Just be careful you don’t get a face full of ashes.
#7 Other general suggestions.
What else do I suggest?
Fire handlers gloves. (Heavy leather insulated gloves, they make grill work much easier. You can grab a hot grill surface, clean up hot coals, etc. without concern)
A good set of long stainless tongs. (If you grill as hot as I do simple kitchen tongs will NOT work, you’ll burn the hair off your hands, get a long 2′ set)
A wide jar full of bacon grease or cooking oil if you use a chimney starter. (Huh? Yep, spread some bacon grease on your newspaper and you have a candle under the charcoal, it lights faster especially in cold or damp weather)
Get a chimney starter if you’re not using one. (Nobody wants to eat food that tastes like lighter fluid)
Good luck, and keep your fire hot. 🙂
So i’m sure you have seen a “Picnic Backpack”, a nice backpack with special pockets for plates/napkins/silverware for 4, a corkscrew, salt & pepper shakers, etc. All very overly pretty but not overly functional, not to mention heavy. This set alone is 85$ and 8lbs without a blanket.

While the idea is a good one, notice how the backpack is filled. Every little thing in it’s own little place nice and pretty and tons of wasted space. But i’m a practical kind of guy, the idea of excess space and weight in something i’m going to carry for miles and miles does not really appeal to me.
So, I set about making my own “functionality-inspired” picnic backpack. (NOTE! This is not a cheap set, it’s a design built for compactness and weight reduction not frugality)
1 backpack (just about anything will do) I went with a black Everest bag with 2 side pockets for water bottles – $19.99
4 lightweight Polypropylene REI plates – $2.75 ea.

4 sets of REI plastic utensils (I took out the big spoons, you can substitute titanium but the cost will go up exponentially) – $2.25ea. set
4 plastic collapsible wine glasses (The bottom unscrews from these and fits upside-down in the top) – $6.95ea.

1 “cork extractor” (I don’t like corkscrews, they mangle a perfectly re-usable cork too much) – $5 on Ebay

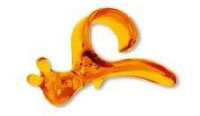
1 plastic orange peeler – $1.99
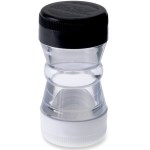
1 combination salt & pepper shaker – $3.95
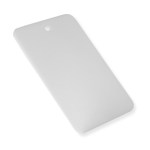
1 cutting board – $3.00
1 decent quality knife (something that will hold an edge) – $9.99
5 cotton hand towels (4 napkins and one prep towel) – $9.99
1 Platypus bag for leftover wine – $7.95
1 Ikea Cotton Blanket – $29.99

1 sheet heavy dropcloth plastic (For wet or muddy ground) – $2.50
My grand total? $140
Total weight? 7lbs, 1oz (3lbs 12oz without the blanket)
Not too bad I figure, the blanket weighs a considerable amount on it’s own but the cotton doubles as a certain amount of padding. I could have gone with a poly “microfiber” blanket and saved alot of weight (and I still might).
Any ideas on what else I might want to add? I think I might go with a slightly larger backpack for rain gear, hiking goods, etc. The blanket takes up a considerable amount of space in this one (I bought the backpack before the blanket). I think i’ll add a Frisbee, or the Aerobie I have laying around.
The next project is a second backpack cooler that is both light and functional.
| S | M | T | W | T | F | S |
|---|---|---|---|---|---|---|
| 1 | 2 | 3 | 4 | 5 | ||
| 6 | 7 | 8 | 9 | 10 | 11 | 12 |
| 13 | 14 | 15 | 16 | 17 | 18 | 19 |
| 20 | 21 | 22 | 23 | 24 | 25 | 26 |
| 27 | 28 | 29 | 30 | |||


45 queries. 0.061 seconds